
Automating Expense approvals with Approveit: ultimate guide
- Uncategorized
- 9 min read
Expense approval automation is one of our most popular use cases, so let’s talk about it in more detail.
In this article, we’ll discuss
- the specifics of the expense approval process,
- all Approveit’s functionality you can apply to this use case,
- the results you can achieve with us.
What is Expense Approval?
First of all, it’s important to define what we mean by “Expenses” here.
When referring to “expense” we mean a money outflow – from your business to somebody else.
Expenses can be prepaid and with deferred payment (account payable):
the first implies the “money first, goods after” scenario, and the second allows you to use the product/service before paying for it.
So, the amount in your bank account will not always reflect the money you have at your disposal if an expense has already been incurred but the payment has not happened yet.
That is why budget allocations are vital – so your team wouldn’t spend more than you can afford.
To make sure your teammates stay within the allowed spending quota, it is imperative to implement the expense approval process.
There are two ways to go around it:
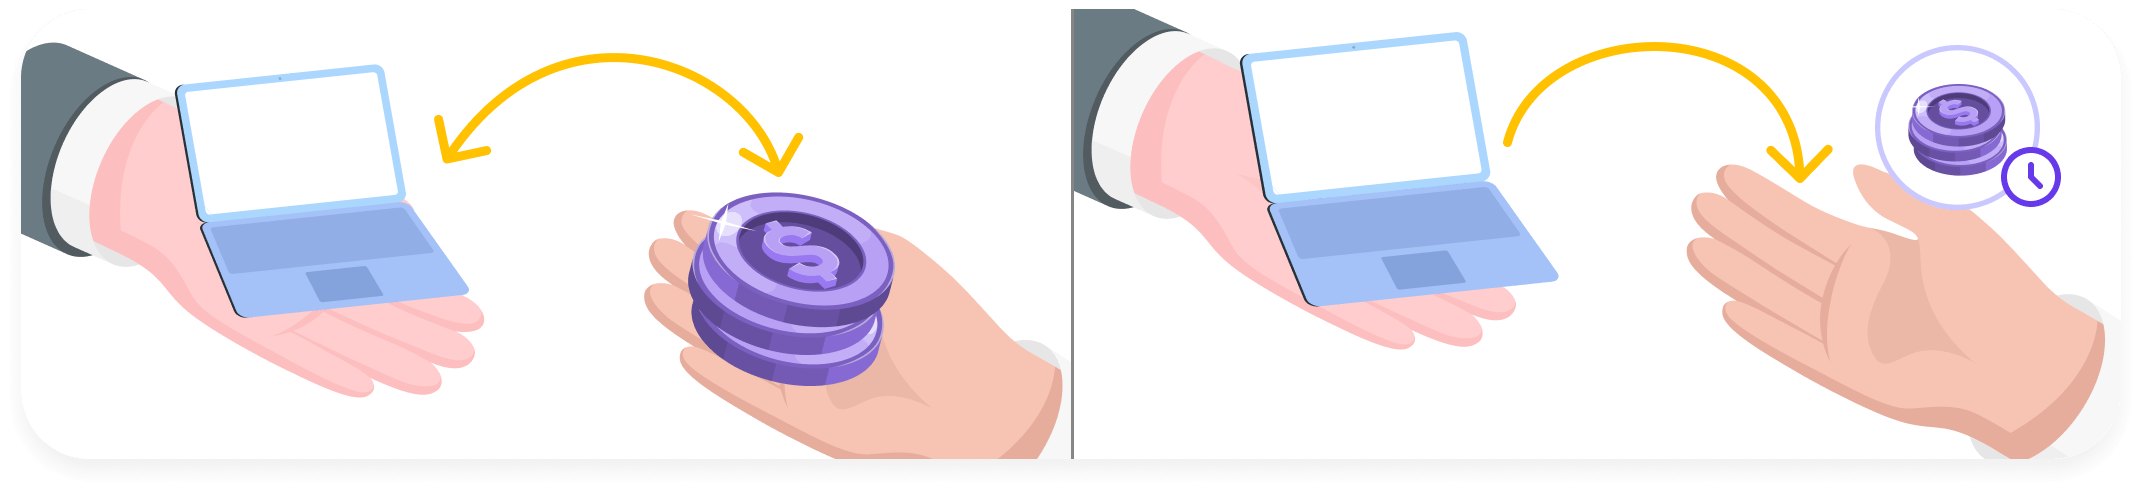
- Pre-approval – expense approval is requested before the money is spent
That way is mostly used for big purchases, expensive one-time services that need to be ordered in advance, and long-term agreements with subcontractors or service providers.
- Reimbursement approval – the money has already been spent by your employee, and they request it paid back since it was a business-related expense.
This framework is usually used for smaller expenses: business lunches, taxi rides, or emergency replenishing of office supplies.
What results can automating expense approval workflows bring?
Automating this sort of workflow is a lifesaver, especially for big teams where expenses are a daily routine.
What have our customers achieved with us?
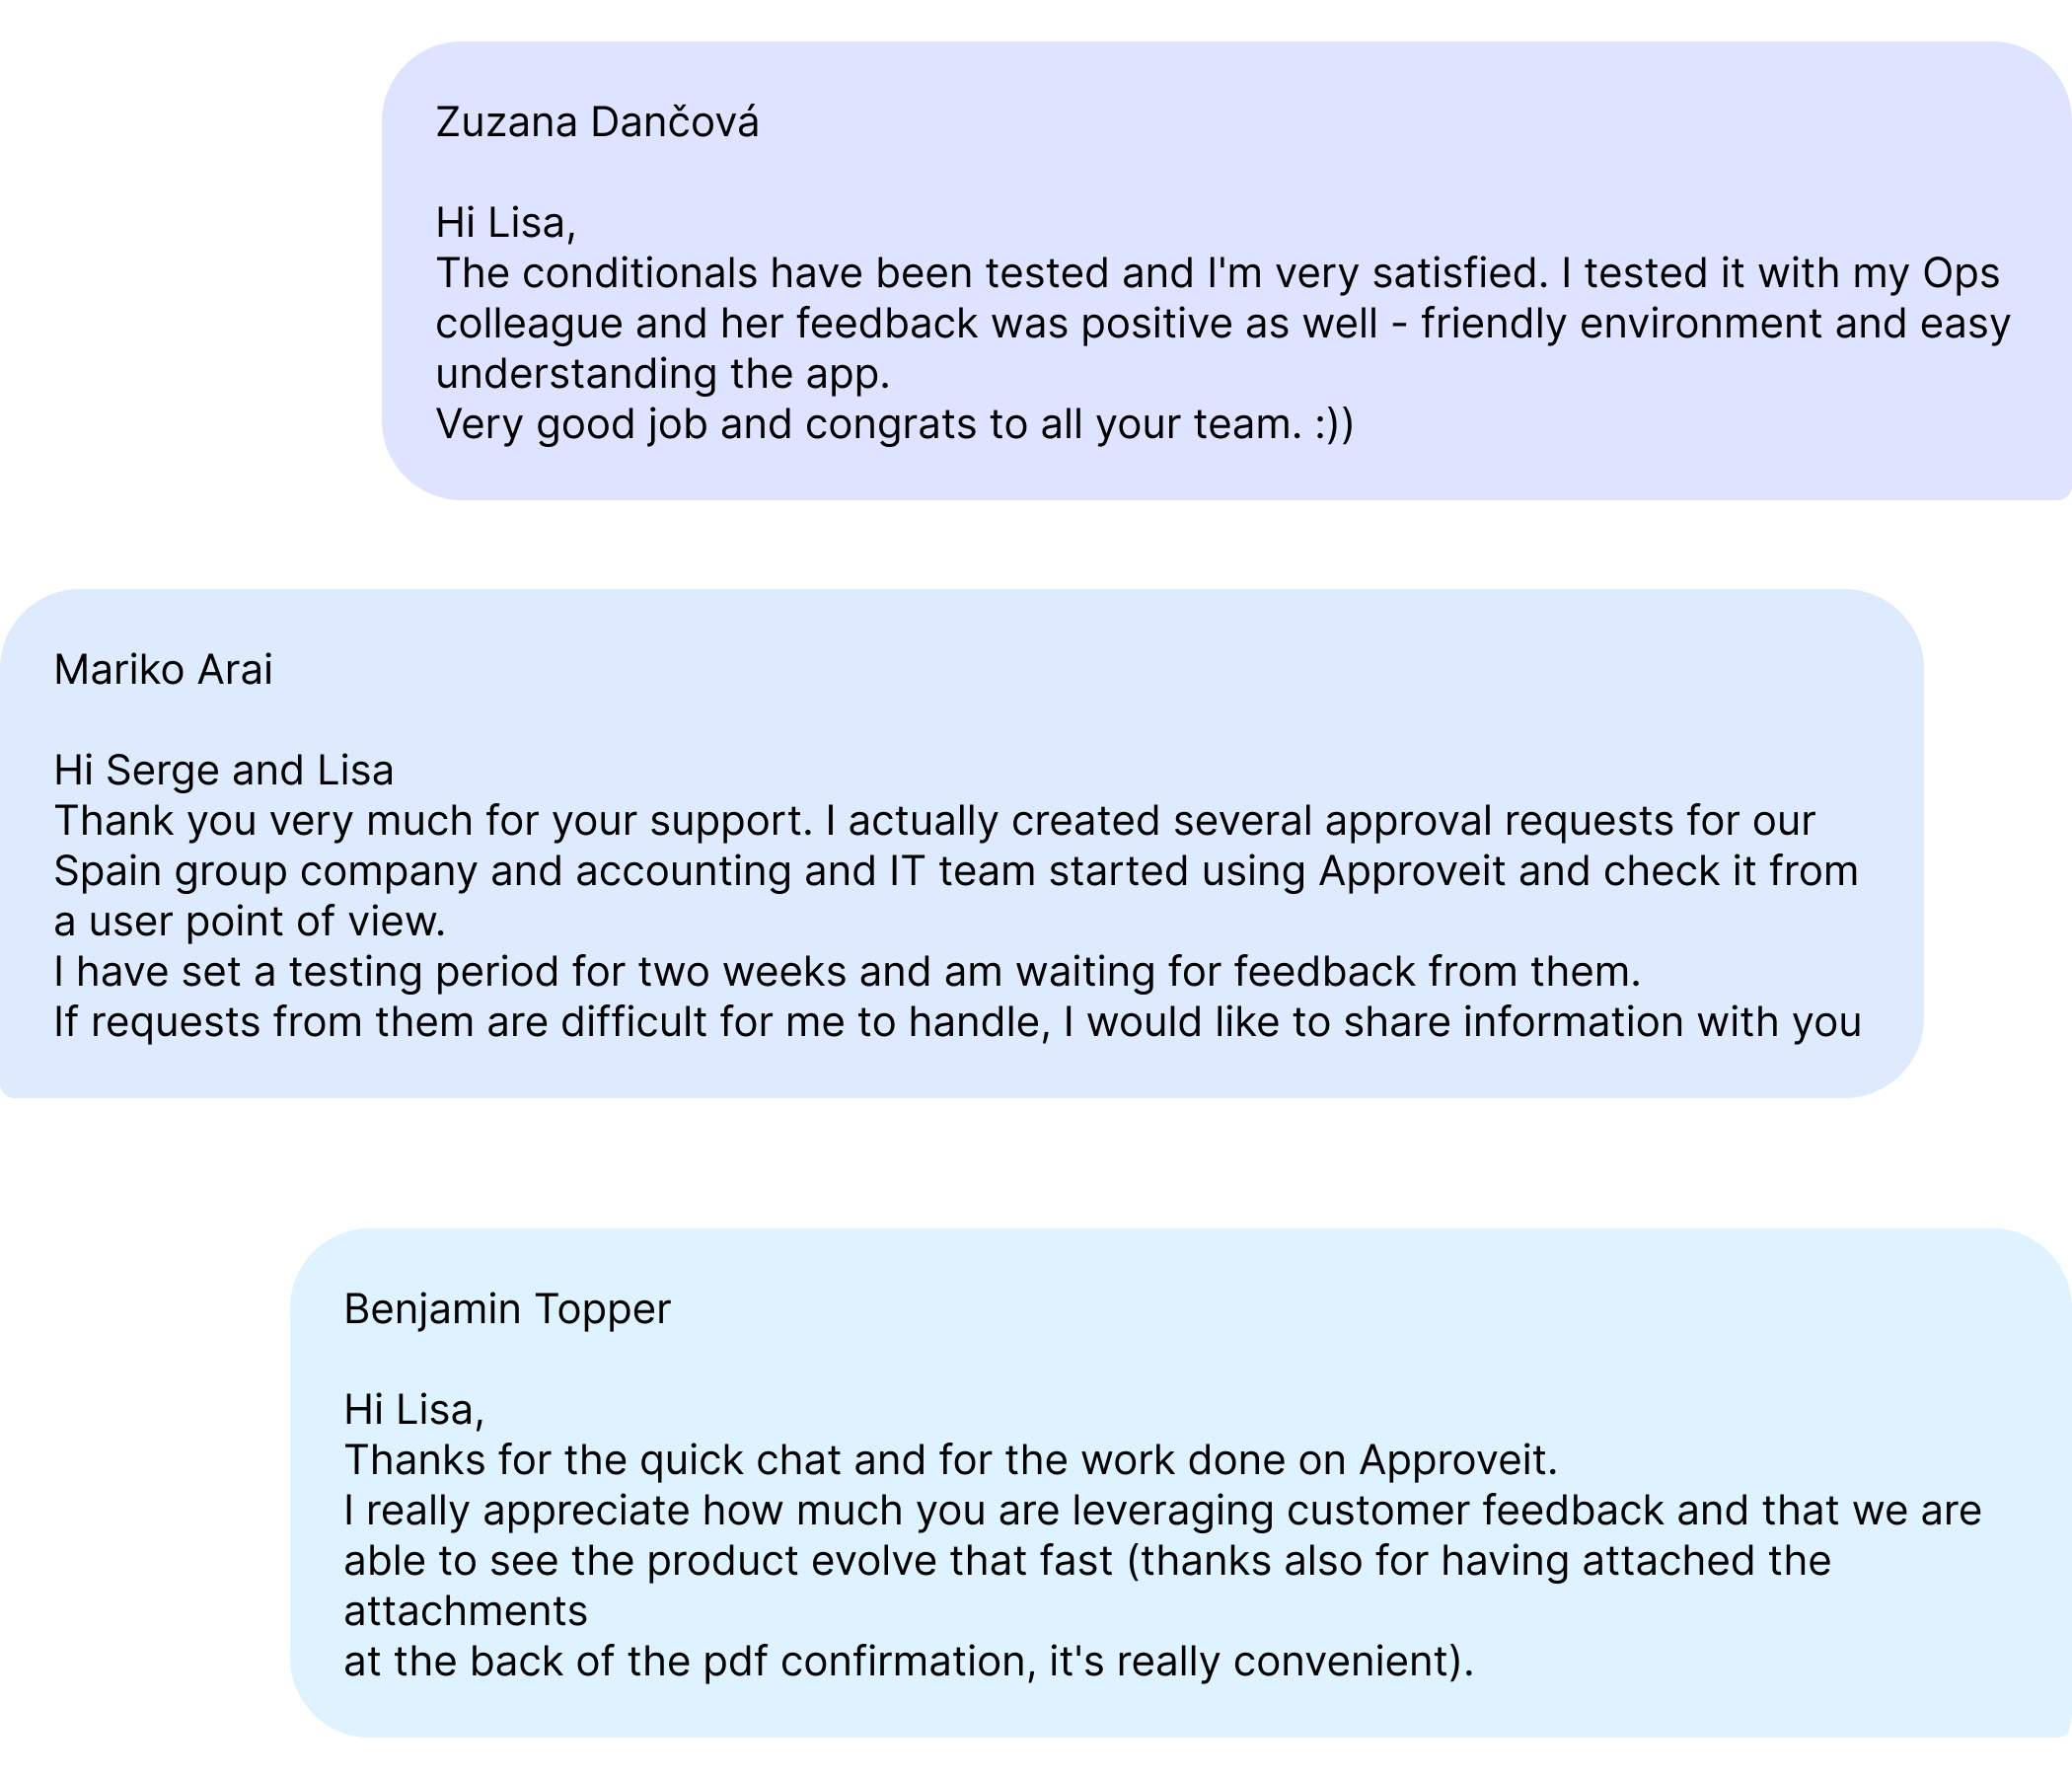
“Implementing Approveit helped them achieve transparency. No duplicated requests, clear record of all approvals with time code, files attached and comments included”
Mariko Arai from Midokura
“With Approveit they were able to keep the record, get approvals faster and kick off projects faster. Process is consistent, with no emailing back and forth”
Ollie Shaw from Jasper
“Approveit gives solid proof that something is Approved. Gives team members more insight on what needs approval (brings organized process); Approveit can send messages to approvers Directly instead of 100s channels with unnecessary information)”
Bo Li from EasyGo
“Every expense lodged by a volunteer can be reviewed by appropriate line managers before payment, rather than finance making educated guesses on approval of expenses”
Peter Hill from City on the Hill
Approveit’s functionality is very flexible, so you can tailor your experience with it to your needs, depending on where is that weak link of your approval management.
But how to find it?
A checklist: is your current expense approval workflow working?
To figure out whether or not the way you handle expense approvals is adequate, ask yourself the following questions:
- Is there a documented sequence of steps your employees have to go through to get expense approval?
- Is there a standard company-wide form an expense approval request has to stick to?
- Are expense approvals documented and available for the audit?
- Is it always easy to find expense approval confirmation?
- Is your accountant always sure an expense was approved before registering it in your accounting software?
If you’ve answered NO to at least two of the questions above, your expense approval workflow definitely has room for improvement.
- On average, how long does it take to get an expense approval?
- Has there been any negative feedback from your employees about your expense approval policy?
- Have you ever suffered financial losses because of an accounting error or wrongfully approved expense ticket?
- Have you ever lost supporting documentation for expense reimbursement?
If you’ve answered “yes” to at least one of these questions, there’s an issue somewhere in your expense management process that needs to be addressed.
For any of the above mentioned issues, there is one easy fix – automation.
With an automated expense approval workflow properly tailored to your business, you can:
- Significantly shorten the reimbursement time, making your employees happier
- Avoid duplications in your team’s expenses
- Keep your budget under control by not reimbursing questionable expenses
- Minimize accounting errors by making sure all the required approvals and documentation is in place and money can be sent.
How to build an automated expense approval workflow with Approveit.
Let’s go through the steps of creating an automated expense approval workflow with Approveit.
1. Creating an Approveit account

This is an obvious step, we have a detailed video on how to do it here, but here are some tips:
- Invite your teammates to Approveit right away.
From the experience of our customers, we’ve drawn the conclusion that the sooner you get your team on board, the bigger the chance is for successful implementation
- Go through the whole onboarding!
The more attention you pay to it, the fewer questions and confusion moments you’ll have while creating your first workflow
- After creating your first workflow, create a couple of different test requests
This will help you make sure everything is working properly. You can do it while you’re on a free trial.
2. Set up an expense approval workflow

The detailed video tutorial is available here. We have “expense approval” templates available for you in our workflow builder, but you can always start one from scratch.
What we can offer as tips:
- Create different workflows for different types of expenses.
Separate reimbursements from purchase approvals. That way, you can tailor the request form to the specific type of expense you’re dealing with.
- Restrict access to the expense approval workflow only to those who need it.
This will significantly simplify the process for your teammates: they won’t have to look through the workflows they don’t need.
Less time spent, fewer mistakes occur.
For that, use the “workflow privacy” setting in the right side menu.
- Set reminders in the workflows for time-dependant expenses
Your Approvers will be notified about the pending request daily until it is completed.
- Include tasks into the workflow.
If any manual action is required upon the request completion, assign it right in Approveit.
Tasks are added the same way as the approval steps, you can view a detailed tutorial on it here.
- Apply conditional rules.
This feature allows you to send an expense approval request to different approvers, depending on the amount in question, the department the requestor works for, payment method etc.
Instead of creating three separate workflows for Marketing, IT and Sales, just add a “Department” dropdown to one workflow.
Click here to watch the tutorial.
3. Set up the integration with your accounting software
It serves to automate post-approval actions, such as transaction recording or sending an email to the finance manager.
Using integrations, you can reduce the number of errors in your accounting records by up to 80%:
- Avoid paying the same bill twice
- Make sure all the supporting documentation is always in place
- Save your accountant’s time spent on copy-pasting
- Avoid errors that happen during that copy-pasting
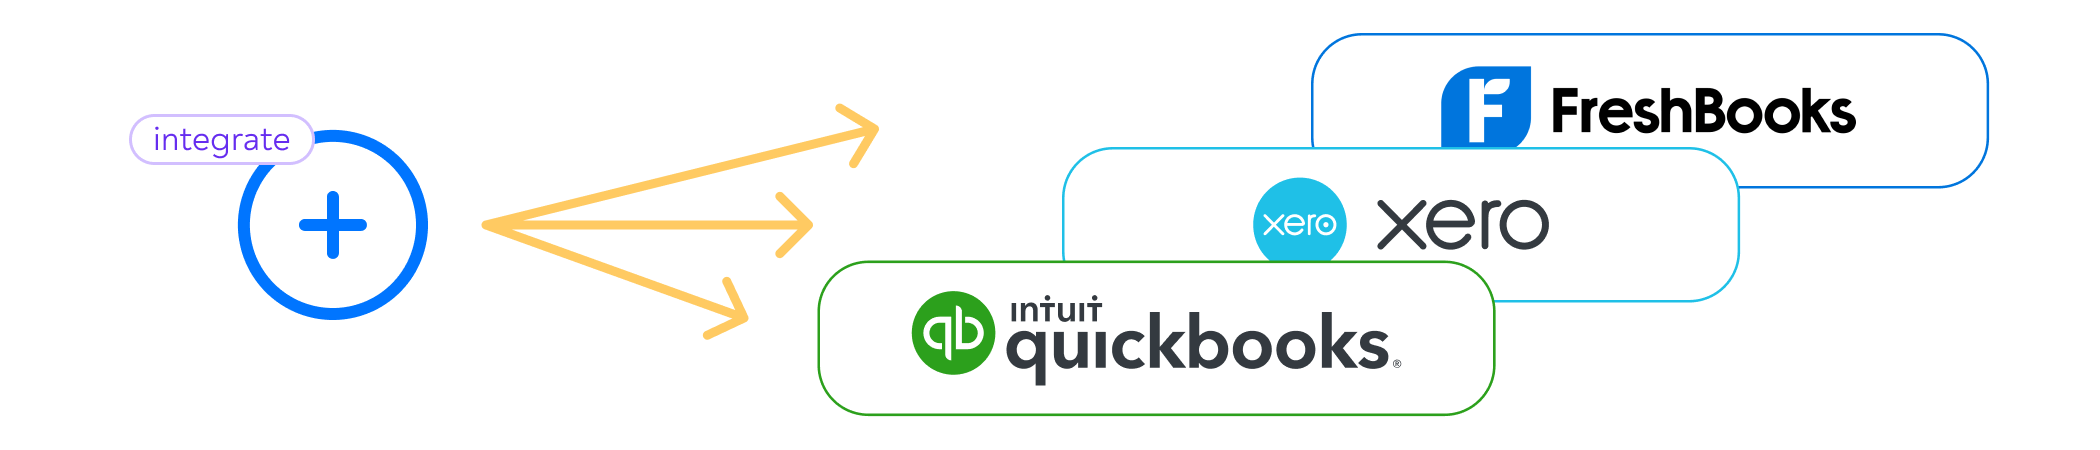
Right now, Approveit offers direct integrations with Xero, QuickBooks, and FreshBooks.
You can see how it looks here, in the example of Xero integration. (link to the video)
Two types of integrations can be applied – inbound and outbound.
Inbound integrations serve to provide your requestors with data that comes from your accounting app – suppliers and their bank details, for example.
Outbound integrations serve to automate actions that follow approval, like creating a purchase order or an invoice in your books.
As a result, you not only automate the approval routine but the whole expense management workflow.
The only thing that is left to do is to make the payment itself!
Requesting expense approvals has never been easier.
Once you’ve set it all up, the only thing left to do is to onboard your teammates and educate them on how to use the solution.
Since Approveit works right in Slack, the whole process is extremely simple and only takes 5 minutes to explain. We have a video where Lisa, our Product manager, is doing just that, you can find it here.
- Requestors have a pre-set form to fill in. They don’t have to guess what details to include in the request.
- Approvers are designated automatically. Depending your workflow settings, they can be constant, or vary based on the request details or the requestor’s position in the company.
- Requestors only need to submit the form once. Reminders will make sure it won’t get overlooked.
- Supporting documents, links, dates, and comments can all be included in the request eliminating the need for any future clarifications
- Requestors can always see the status of their request. No need to double-check or look for the bottleneck – just open the request details and you’ll ee what approval step is pending.
- If your requestor has made a mistake when filling the form, approvers can request an update of a pending request, and it can be corrected. No need to submit the request again.
As you can see, it’s a win-win for all parties involved in the process.
Approveit has helped hundreds of teams forget about time-consuming manual approval processes. Yours can be one of them.
Our support team is always there to help you set things up, elaborate on the functionality and answer any questions. Just reach out to us via email, or in-app support chat.
Happy automation!
Enjoyed the reading?
Subscribe to our fresh artiles, product updates and news
You might also be interested in...
6 ways to solve your company’s out-of-control expenses problem